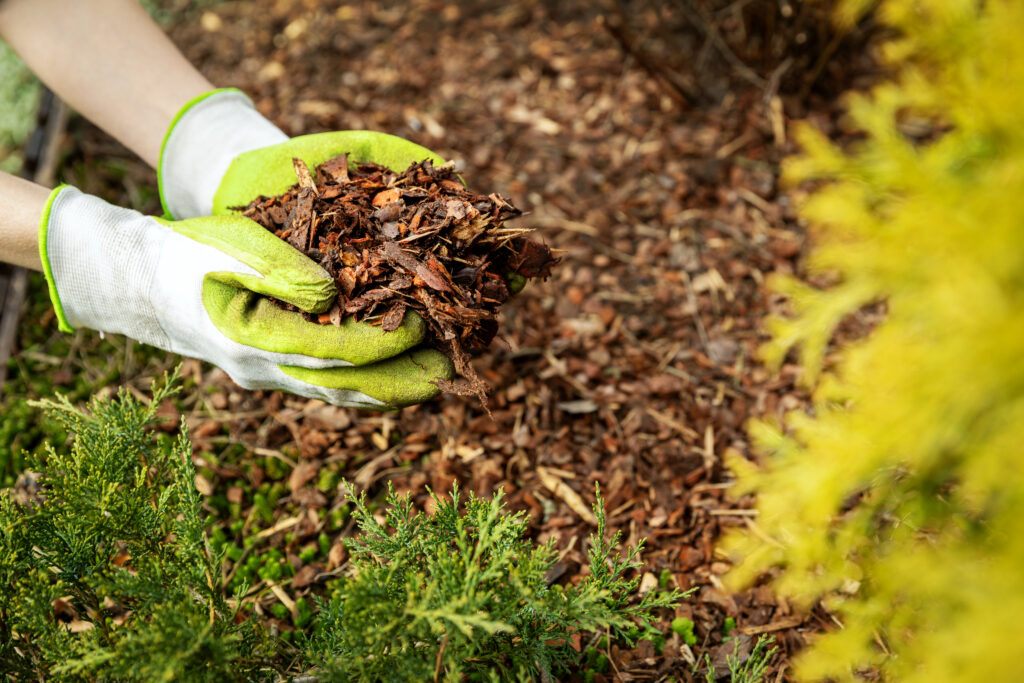
What comes to mind when you hear the word “mulch”? If it’s visions of store-bought bags of wood chips, it’s time to expand your horizons. Mulch, that protective layer spread over your garden soil, can be so much more. It’s a DIY opportunity waiting for you, one that not only benefits your garden but also your pocket and the environment. So, let’s dive into the world of mulch, discover why it’s a garden game-changer, and learn how to create your own.
What is Mulch?
First things first, let’s clarify what mulch actually is. Mulch is a versatile garden cover made from various organic materials. Think leaves, straw, wood chips, or even compost. This unassuming layer plays several vital roles in your garden, making it a gardener’s best friend.
Why is Mulch Good for Your Garden?
- Moisture Retention: Imagine mulch as a natural moisture manager. It works tirelessly to reduce water evaporation from the soil. As a result, your plants stay consistently hydrated, and you’ll find yourself reaching for the watering can less often.
- Weed Control: Ever wished you could magically banish those persistent weeds? Mulch is your closest ally in this battle. When applied correctly, it creates a protective barrier that suppresses weed growth. Fewer weeds mean less competition for vital nutrients, and a neater, more manageable garden.
- Temperature Regulation: Plants might not complain about the weather, but they certainly have preferences. Mulch acts as a buffer, insulating the soil against extreme temperature swings. It keeps your plant’s roots cozy during chilly nights and shields them from the scorching heat of the day.
- Soil Improvement: Over time, organic mulch breaks down, becoming a part of your soil’s ecosystem. As it decomposes, it enriches the soil with essential nutrients, like nitrogen and phosphorus. Plus, it’s a welcoming environment for beneficial microorganisms, which promote soil health.
How to Make Your Own Mulch:
Now that we’ve sung mulch’s praises, you’re probably itching to create your own. Well, you’re in luck because making mulch is as rewarding as it is eco-friendly.
- Gather Organic Materials: Start by collecting organic materials. Leaves, straw, grass clippings, or wood chips are excellent choices. But here’s a fun twist – you can also use kitchen scraps like coffee grounds, fruit peels, and eggshells. It’s recycling at its finest.
- Shred or Chop: For quicker decomposition, consider shredding or chopping larger materials like branches or straw into smaller bits. This increases the surface area, which speeds up the mulching process.
- Layer it On: Spread your freshly created mulch evenly over your garden beds. Aim for a thickness of about 2-4 inches. But here’s a pro tip: avoid piling mulch against plant stems. This can lead to moisture-related issues, like rot.
- Maintain and Refresh: Remember, mulch doesn’t last forever. It gradually decomposes and becomes one with your soil. To keep its magical properties at their best, top up your mulch periodically. Spring or Autumn is an ideal time for a refresh.
By crafting your own mulch, you’re not just participating in a satisfying DIY project – you’re also contributing to a more sustainable and nutrient-rich garden environment. Plus, it’s friendly on your wallet, making it a win-win-win situation. So, why wait? Dive into the world of DIY mulch and watch your garden thrive.
Ready to get started on your DIY mulch adventure or need expert guidance for your garden projects? Don’t hesitate to reach out to Catherine the Garden Lady as she’d love to help. Happy gardening!

